Place Railroad String
 Place Railroad String tool can be used for the digitization of line strings. The tool integrates three types of functionality: it draws a line element and allows view panning and rotation. Thus, it enables faster digitization compared with other CAD platform tools.
Initially, the tool was implemented for the manual placement of an approximate centerline between two rails based on ALS data or aerial images. The centerline can be used to classify points on rails more accurately. However, the tool is very useful for digitizing any kind of line string.
The Tentative mouse button can be used to snap to a point loaded into TerraScan while drawing a line string with the tool. This may be useful for digitizing a 3D line element directly. However, in many cases it is more convenient to digitize a 2D line first and then, adjust it to the point cloud elevation by using the Drape linear element tool.
To place a line string:
1.Select the Place Railroad String tool.
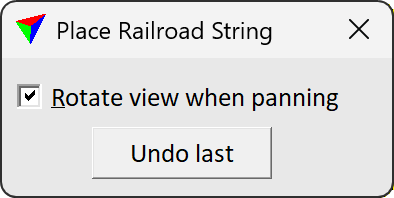
The Place Railroad String dialog opens:
2.Define the location of the first point on the line string with a data click.
The application draws a dynamic rectangle whenever you move the mouse pointer inside the view. If you place a data click outside the rectangle, the application pans the view in the direction of the data click. If Rotate view when panning is switched on in the tool’s dialog, the view is also rotated in the direction of the data click. If you place a point inside the rectangle, you add a new vertex to the line string.
3.Digitize the complete line string.
You can click on the Undo last button in order to delete the last vertex that was placed. The undo action can be applied several times.
4.After placing the last vertex, click on the reset button in order to finish the line string.
The lines string is drawn on the active level and using the active symbology settings of the CAD file.
To prepare for railroad line string placement:
1.Classify potential points on rail into a separate point class using By intensity or Railroad classification routines.
This initial classification probably includes a number of points which are not points on rails. However, the should provide a visual impression of the railroad track location.
2.Switch on the display of the points on rails and switch off the display of all other point classes in a top view.
3.(Optional) Define a custom line style in your CAD platform.
A recommended line style consists of two lines which are the railroad width apart from each other. This supports the placement of parallel lines for the rails and allows viewing the railroad string as a centerline of the track or as a pair of lines for the rails simply by switching line styles on or off in a view.
4.Select level, color, and the custom line style as the active symbology in the CAD file.
5.Select the Place Railroad String tool and digitize the railroad string according to the instructions above.